Students can add funds to their PaperCut account using a debit or credit card. Follow the steps below to add funds and verify that the transaction was successful.
1. Log in to PaperCut
-
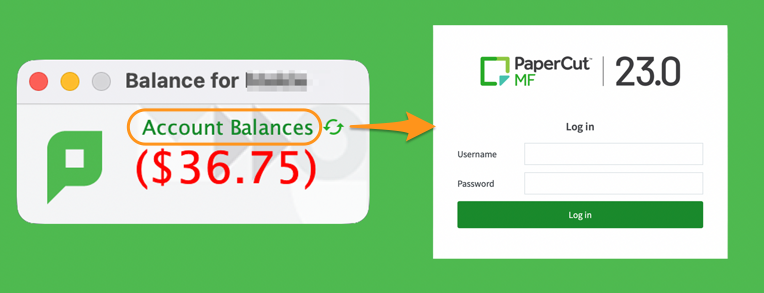
Click Account Balance on the PaperCut widget or go to the PaperCut User Dashboard.
-
Log in using your Otis Xnumber and password.
2. Select Add Credit
-
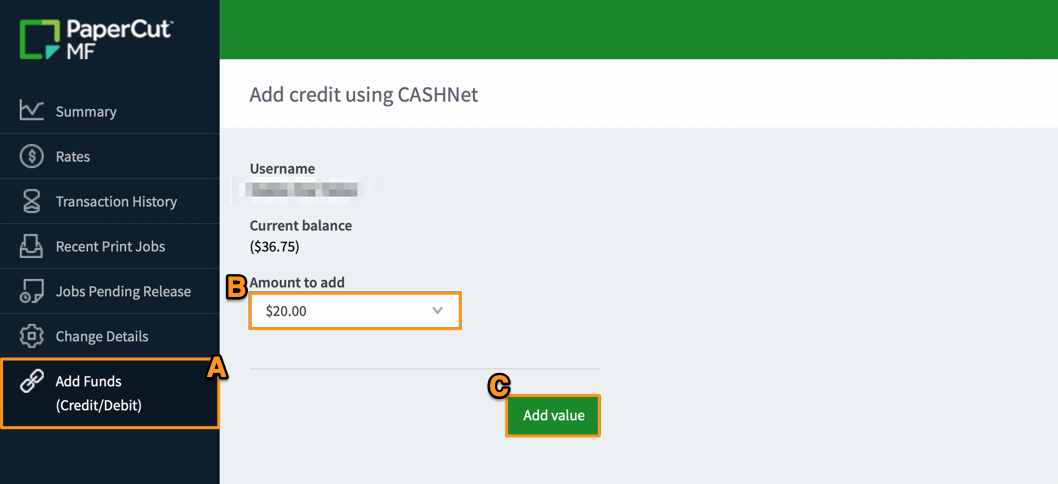
In the PaperCut menu, click Add Funds (Credit/Debit).
-
Select the amount you want to add from the dropdown menu.
-
Click Add Value.
3. Enter your payment information
-
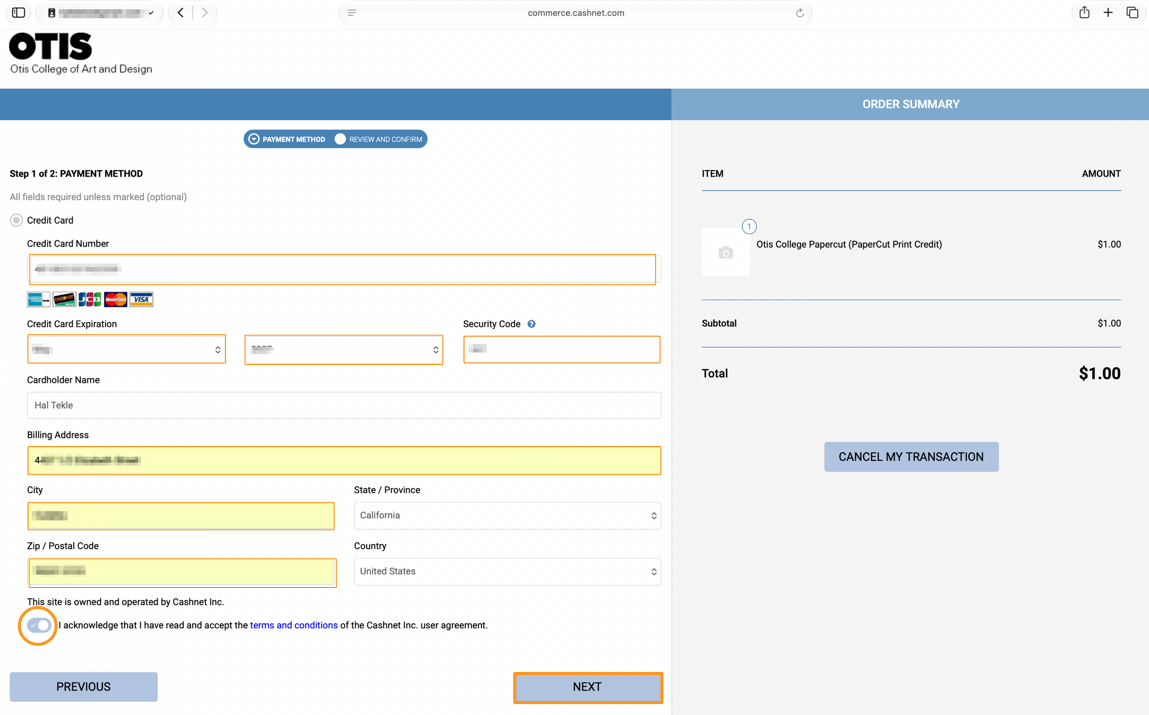
Enter your debit or credit card information
-
Enter your Billing address
-
Check the box to acknowledge that you have read and accepted the terms and conditions.
-
Click Next
4. Review and submit your payment
-
Review the payment information and total amount.
-
Click Submit Payment to complete the transaction.
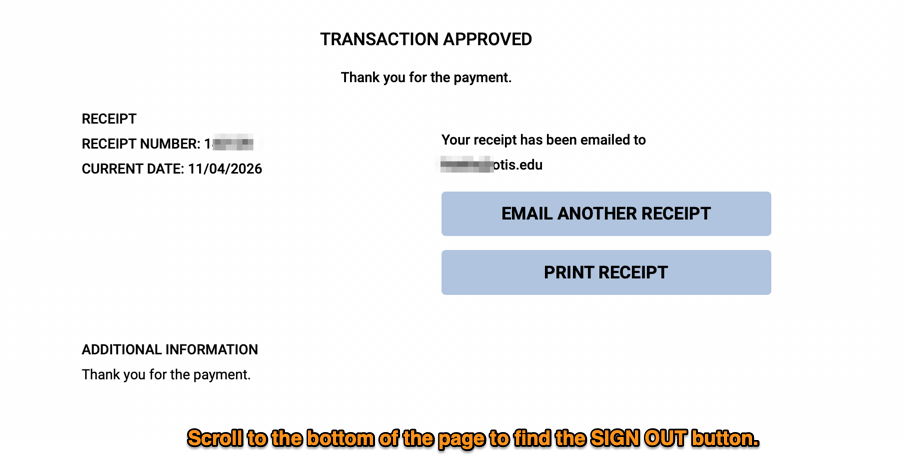
5. Confirm the payment was approved
-
Once payment is submitted, a Transaction Approved confirmation should appear.
-
Verify that the payment amount is correct.
-
Click Sign out to exit the payment confirmation page ( Scroll to the bottom of the page to find the SIGN OUT button )
6. Log out of PaperCut
-
Return to your PaperCut account.
-
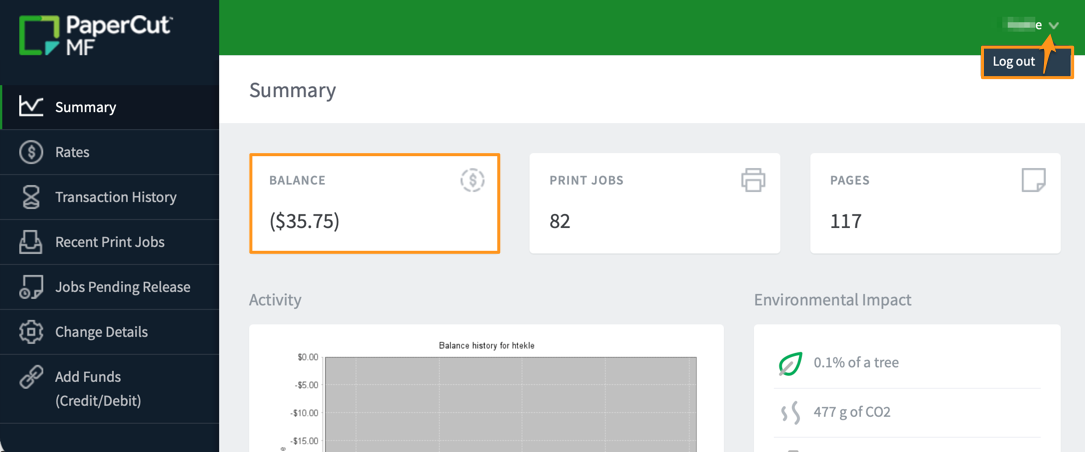
Confirm that the added funds appear in your account balance.
-
Click Log Out in the top-right corner