

 742
742
The Canon SecurePrint queue works differently than a traditional direct printer. You must now tap your Otis ID on a card reader installed on the printer (to log in) before it will dispense any prints. This also means that after you send a job to the SecurePrint queue, you can log in to any Canon printer on campus and get only your print jobs from that printer. Please see below for step by step instructions:
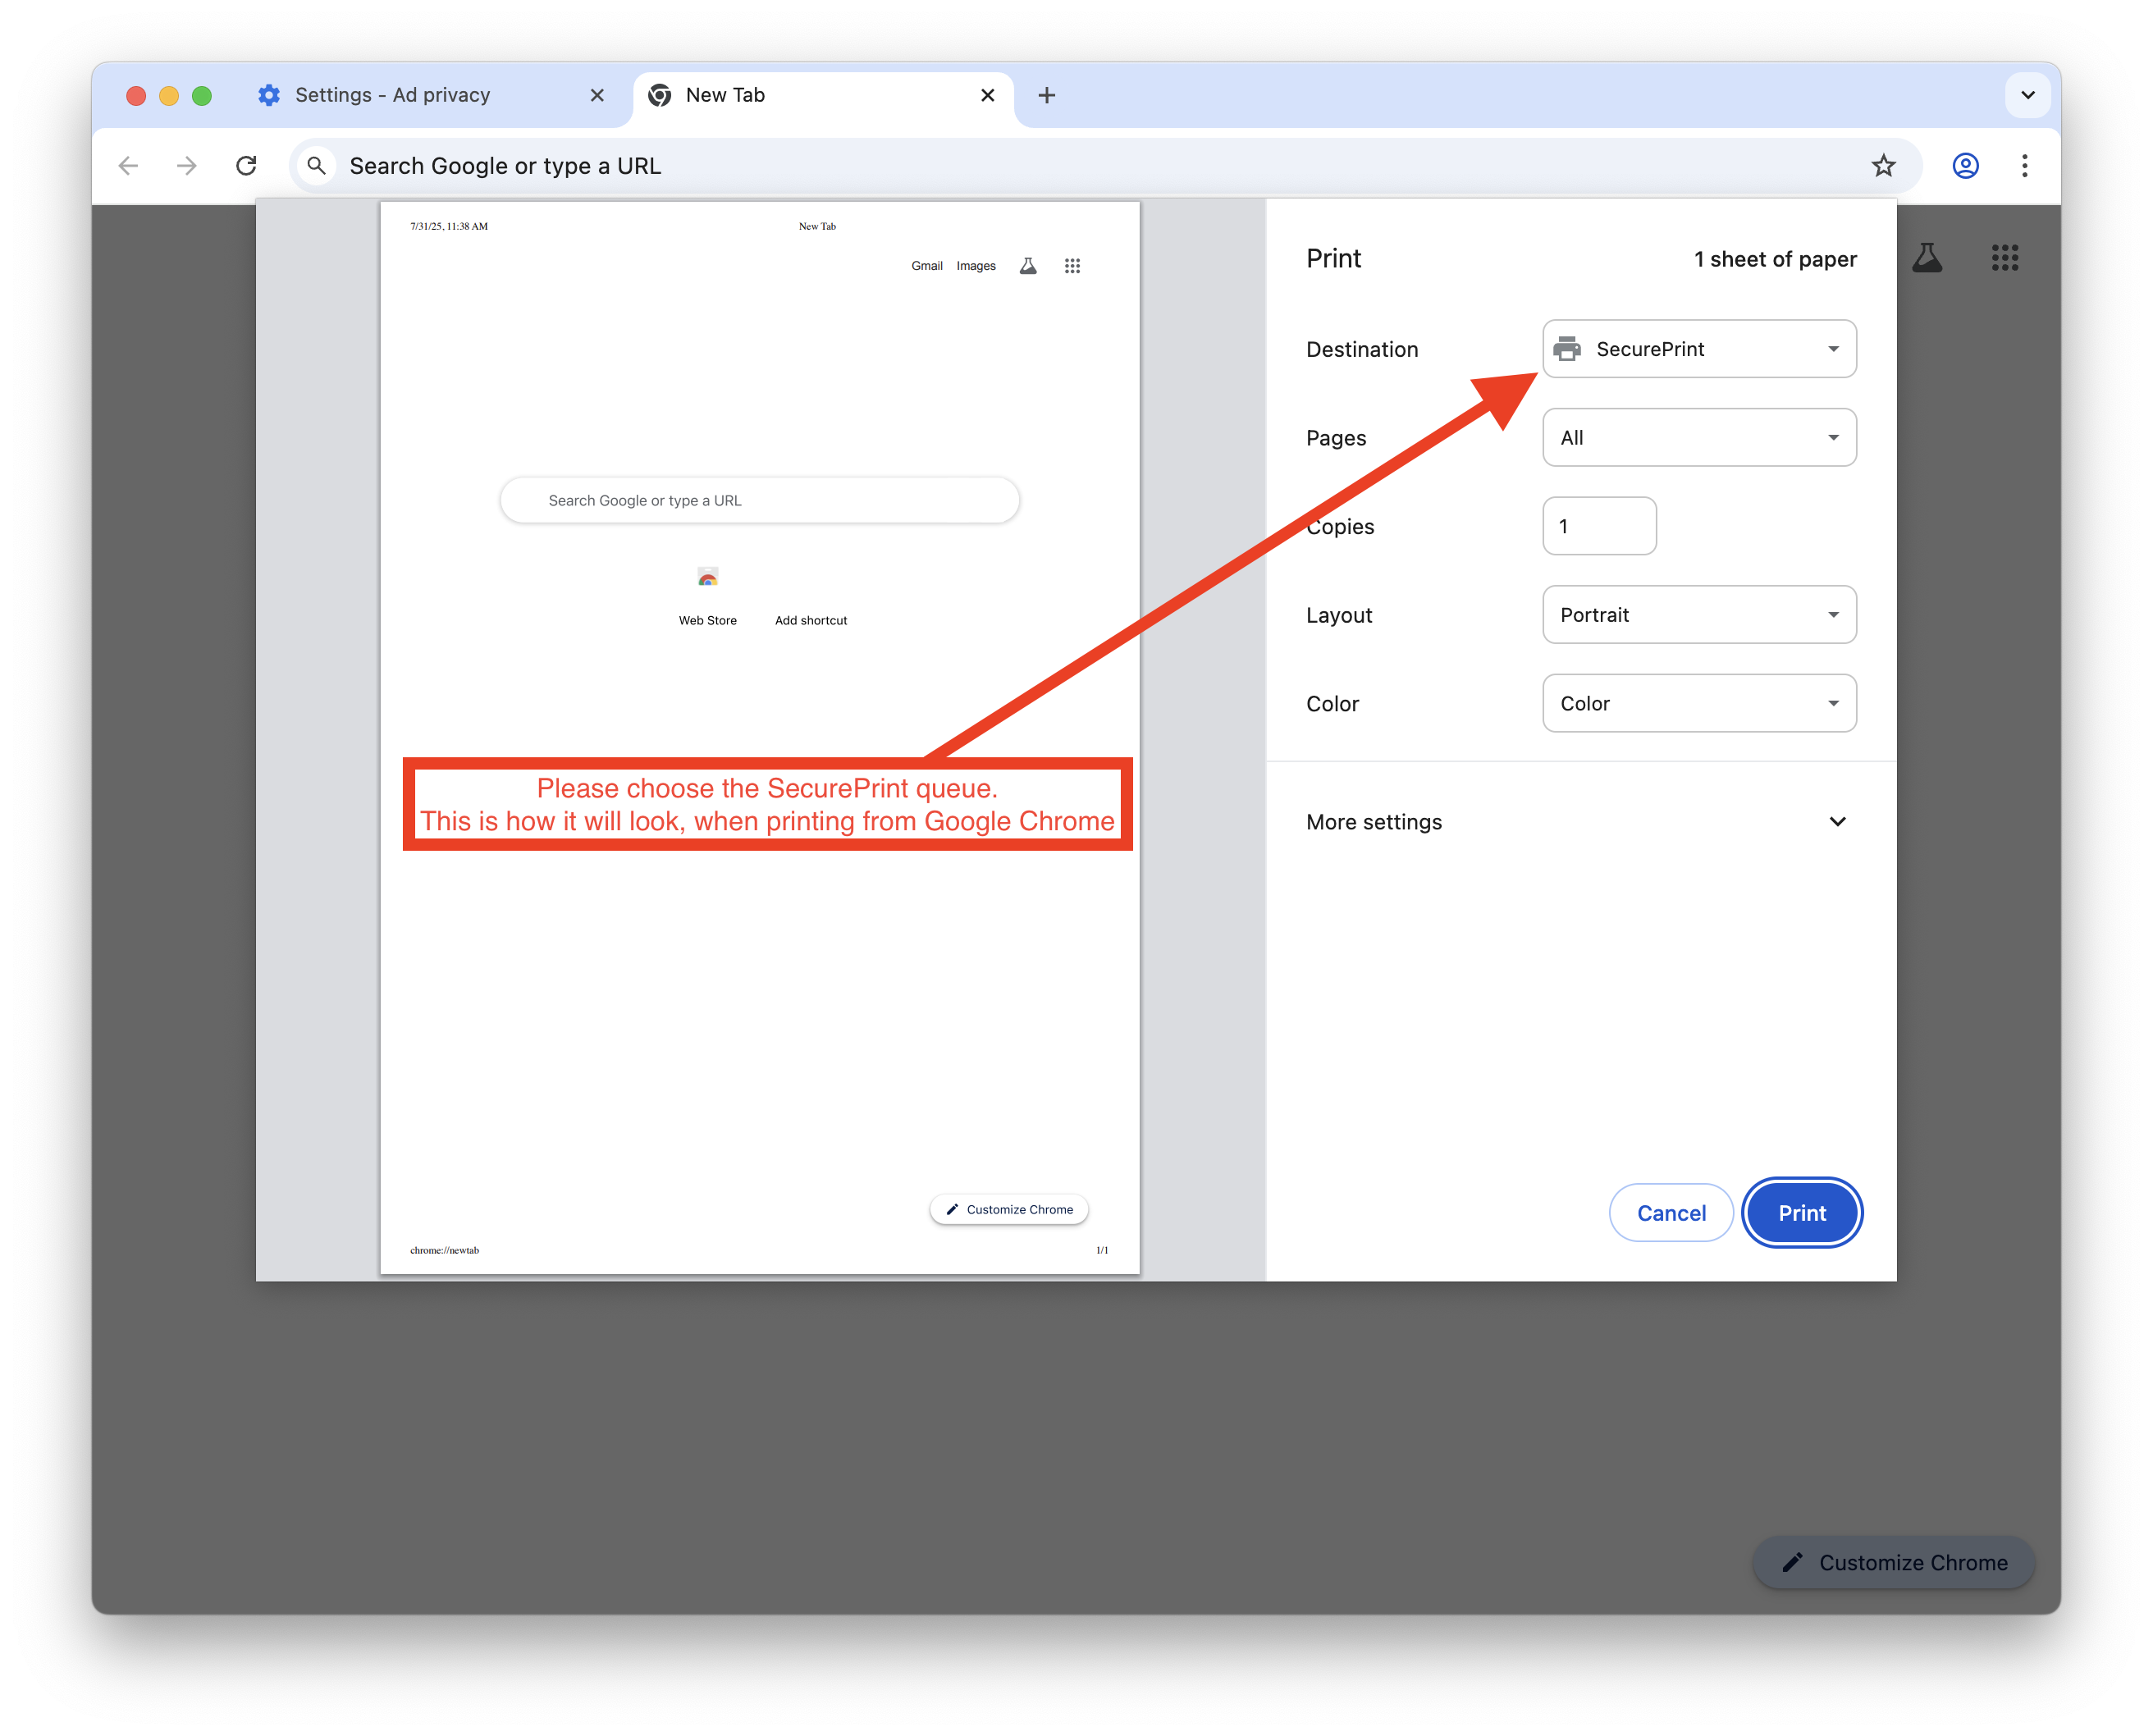
1. Instead of a printer named per-room, or location, you will now find a printer called "SecurePrint." Please choose this print queue when printing from your Otis issued work computer.
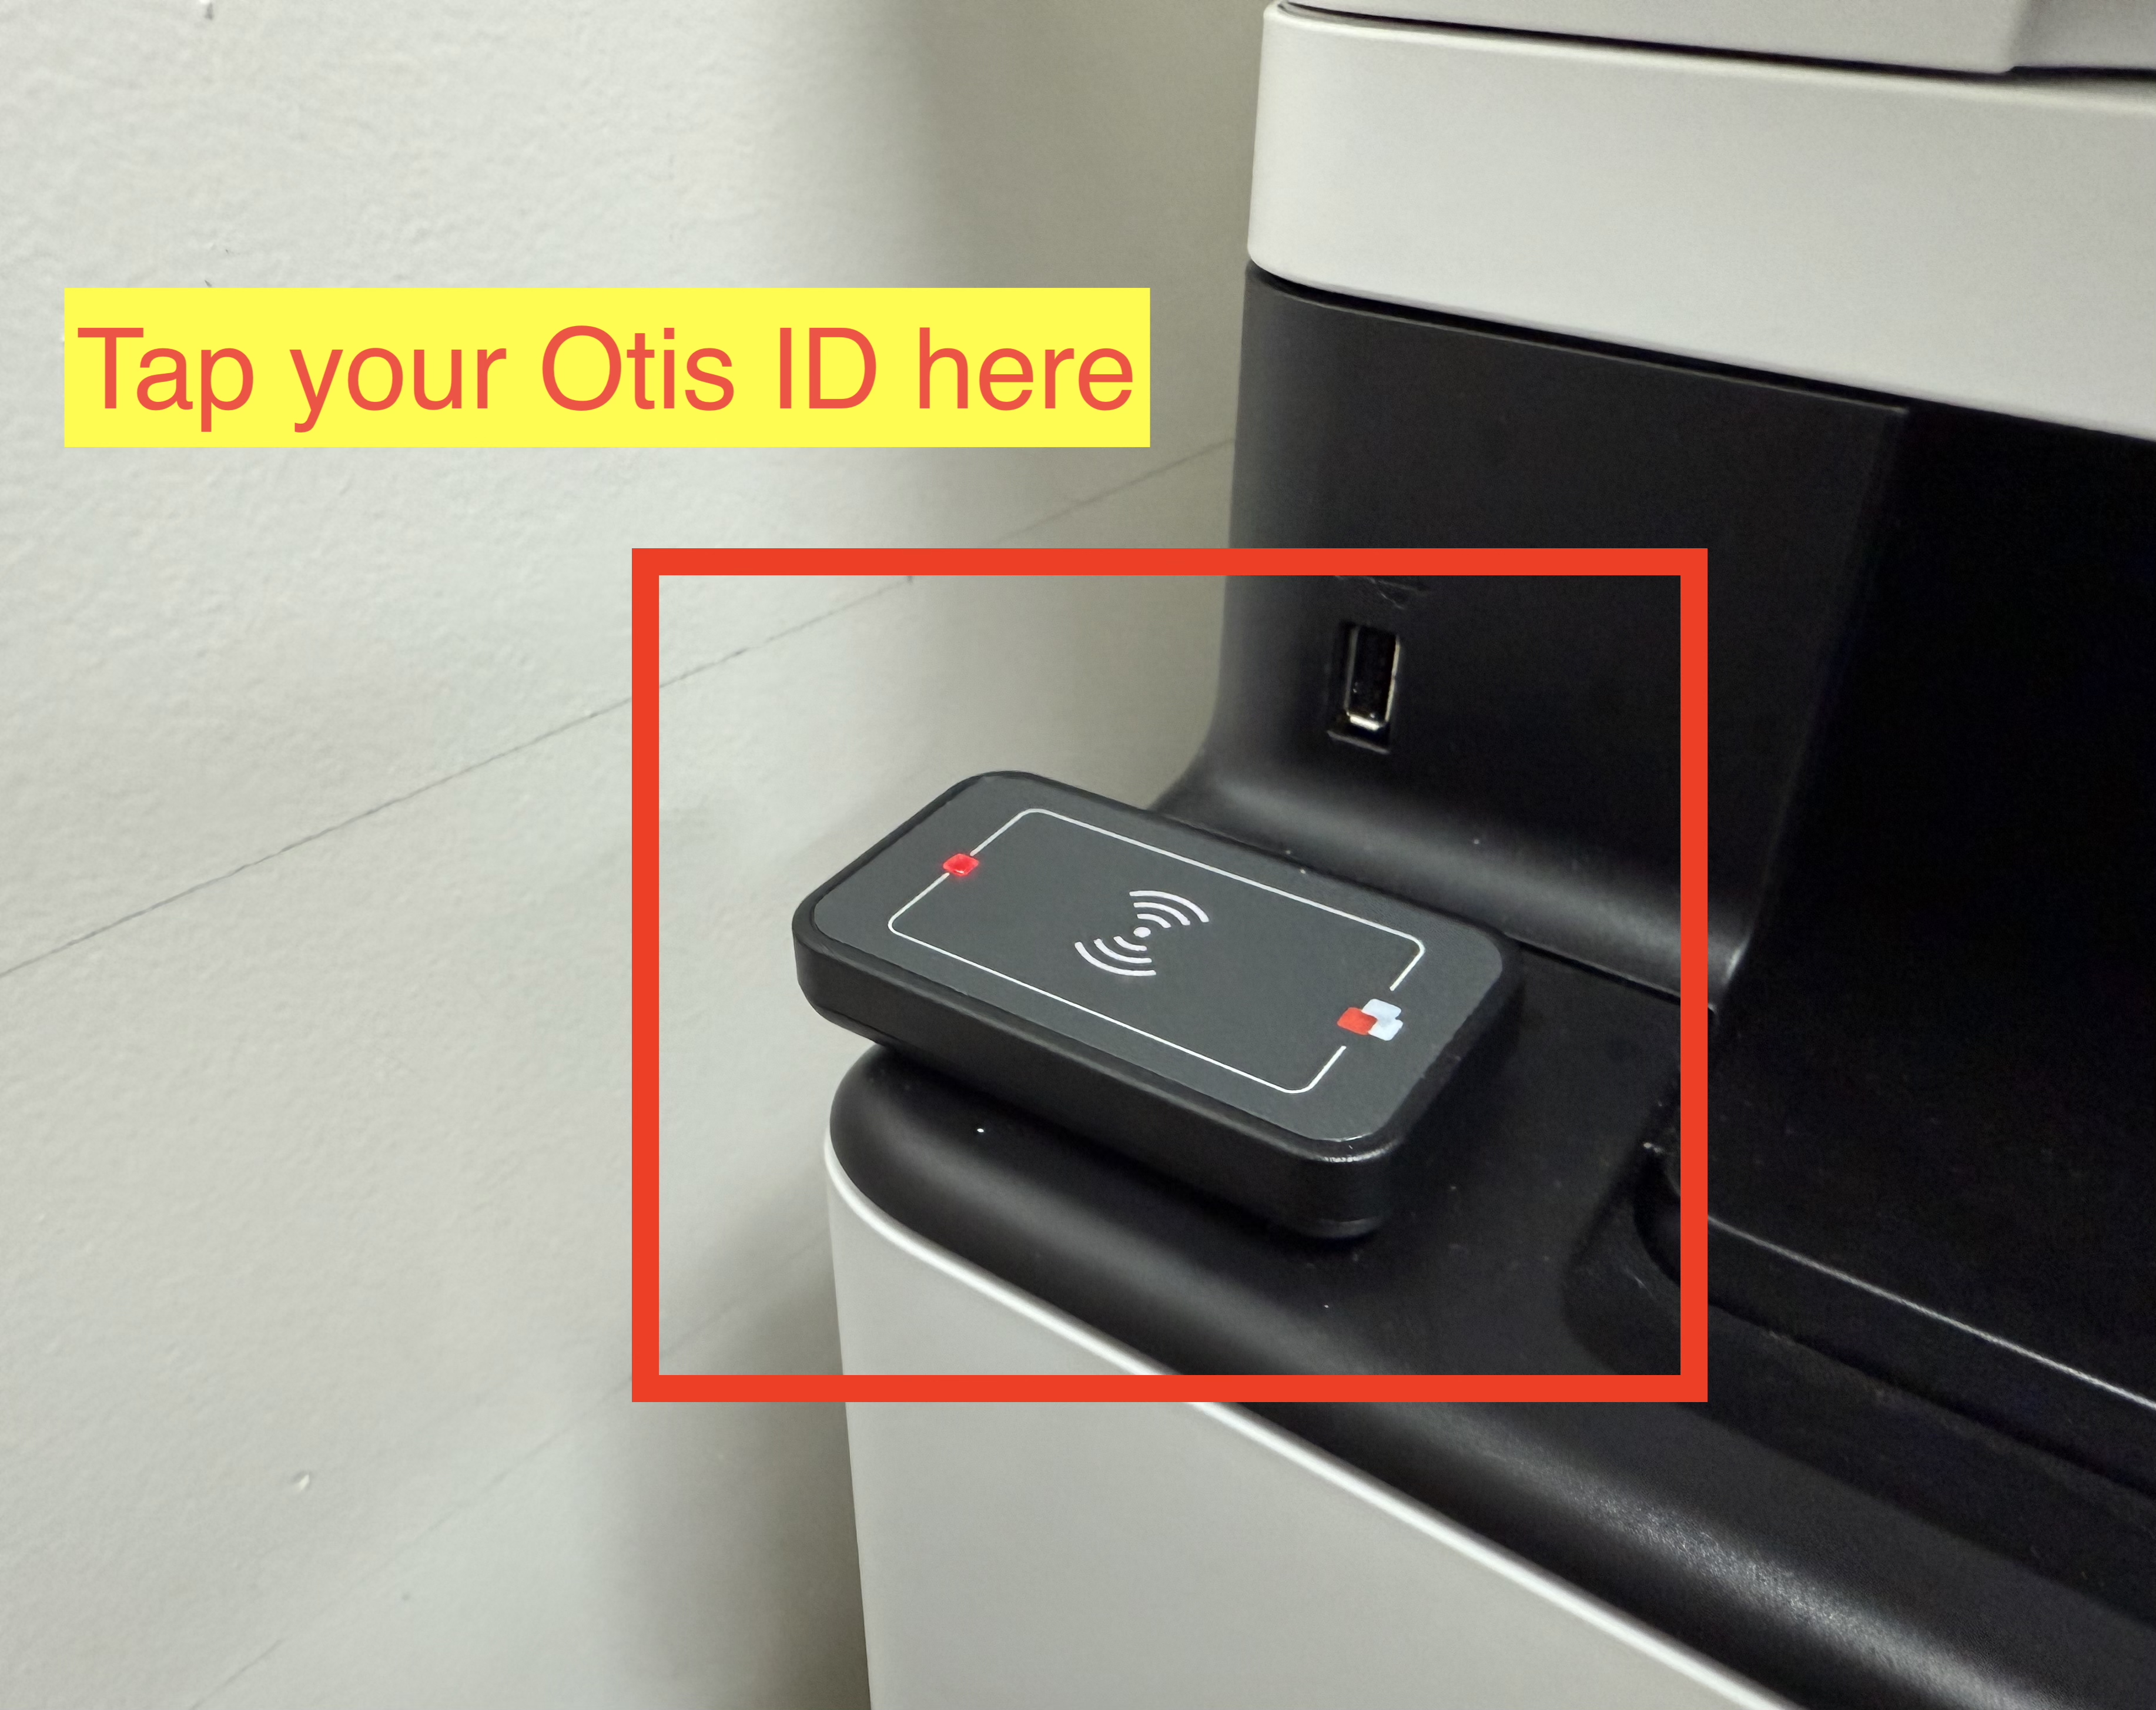
2. After you have sent your prints from your computer to the SecurePrint queue, and are now standing at the printer you wish to receive your prints from, tap your Otis ID on the card reader to log in. If you are a student worker or have forgotten your Otis ID, you can be issued a PIN number to log in.
Please send requests for a printing PIN asap to [email protected] if needed.
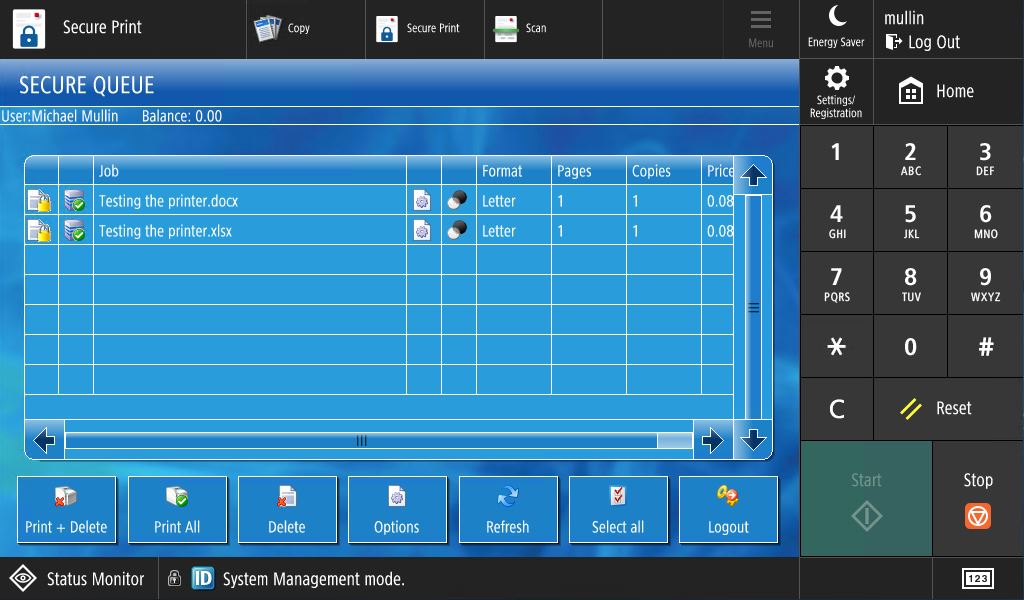
3. Once you have logged in, you will see a collection of buttons. Depending on the printer model this screen may be slightly different. In all cases, to dispense your prints choose the button called "Secure Print."

4. At this time, you will be presented with a list of your prints and a number of items below. From these items you can choose "Print + Delete" for example, which will print the job and delete it from the queue, or "Print + Keep" which prints the job, but keeps it in the queue if you wish to print the same thing again at a later time. Tap the name of the file you wish to print or choose "Select all" from the options to print all jobs.
5. IMPORTANT: when you are finished, although the printer will automatically log you out after a few minutes, please make sure to click "log out" to ensure the machine is ready for the next user.

